How To Tie A Dropper Loop Knot
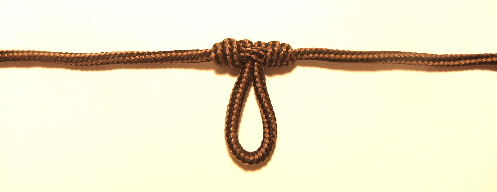
Tying a dropper loop knot is a crafty way to add an extra fishing hook to your line. And you can add several droppers to the line if you plan on using multiple hooks.
You can also create the loop to be long enough so that you can tie a hook directly to the loop. That way you eliminate the need for a leader. And the double line formed from the loop should add/reinforce to the strength of the fishing knot tied to the hook.
If you had to or wanted to, you could use the loop to add a weight, such as a bell sinker.
Additionally, fly fishermen are known to use the loop to add a second fly to their tippets.
Most anglers don't use this dropper rig often, but it might come in handy for you one day. So, here are some step-by-step instructions for tying the dropper knot.
Tying A Dropper Loop Fishing Knot
Steps For Tying A Dropper Knot:
1. Make a loop with the line.

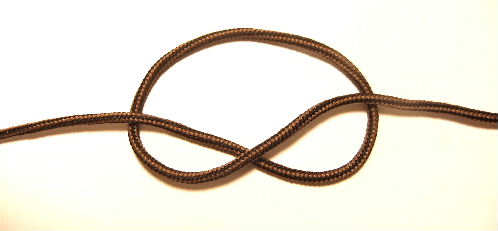
2. Begin wrapping the end overhand.
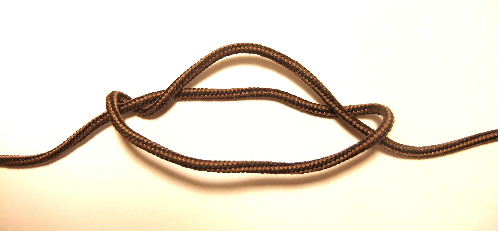
3. Wrap the end about 6 or 7 times.
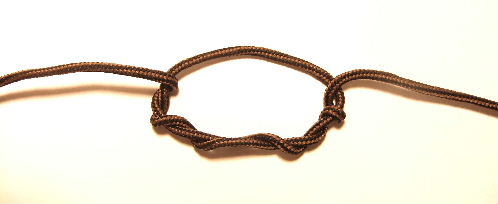
4. Bring the top section of the loop down to insert it through the center of the middle wraps.
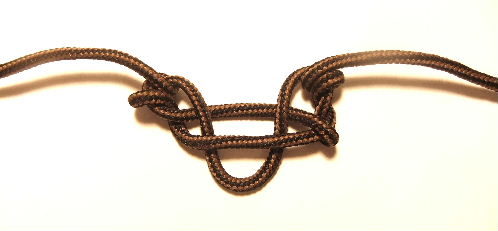
5. Moisten the knot and finish pulling the loop through and snug it tight.
This is a cool rig to set up for freshwater fishing, saltwater, surf casting, or whatever it may be. The more hooks out in the water, the merrier, right?
There's just one thing left to do now...
Get Loopy and Drop It Like It's Hot!!!
Fishing Knot Guide Books, Instruction Videos, Kindle
Editions and Waterproof Knot Cards
If you're serious about fishing, it's a good idea to learn
about which knots are best to use and for what.
Books and videos are perfect just for that. It can also be just as
helpful to carry a set of waterproof knot tying instructions with yourself
out on the water.


Facebook Comments
Leave a comment, question or tip in the box below.